Product photography through the help of Artificial intelligence is gaining mass interest these days. AI has undoubtedly made editing easier for even amateur photographers and editors. These days, a large number of companies and beginners in start-ups are using AI in order to edit their product photos. This is assisting immensely in workforce balance, and less production cost in advertising and photography. Provided below, are some basic steps to help you get started with product photography through AI tools.
There are a number of good AI tools available to guide you along the way like Blend, Zeg AI, Booth Media, and many more. For starters, let us begin with our journey with Blend’s AI studio.
Edit your photos with these easy steps:
1. Select the product:
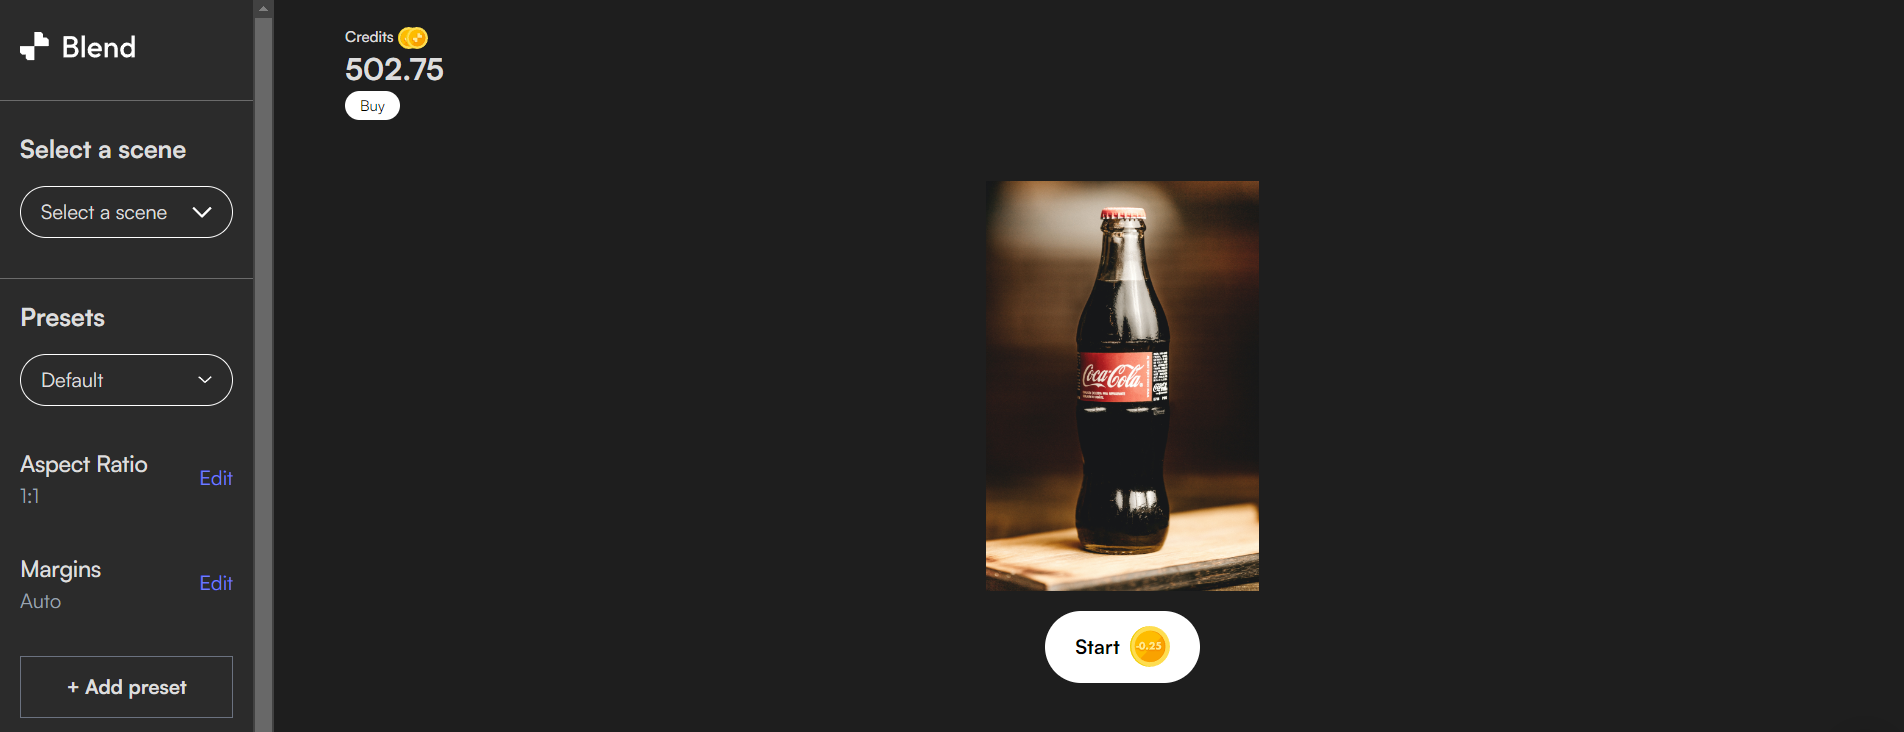
First and foremost, it is important to select a product that you want to advertise. Selection of the product is the stepping stone for sellers. Focus on the object you wish to advertise for the moment. Selecting multiple objects at a time often makes it difficult to maximize the product detailing. Thus, it is important to choose a specific product and advertise accordingly.

(Screenshot from Blend’s AI Studio)
2. Remove the current background
The next step is to remove the present background of the photograph. In the case of paid photoshoots, the photographers travel to the chosen destinations and the editing is done by professionals too. During AI photography, this is not the scenario. You have to remove the backgrounds and optimize them accordingly. It can be done by anyone, in a few seconds, saving time and money.

(Screenshot from Blend’s AI studio)
3. Choosing a new background
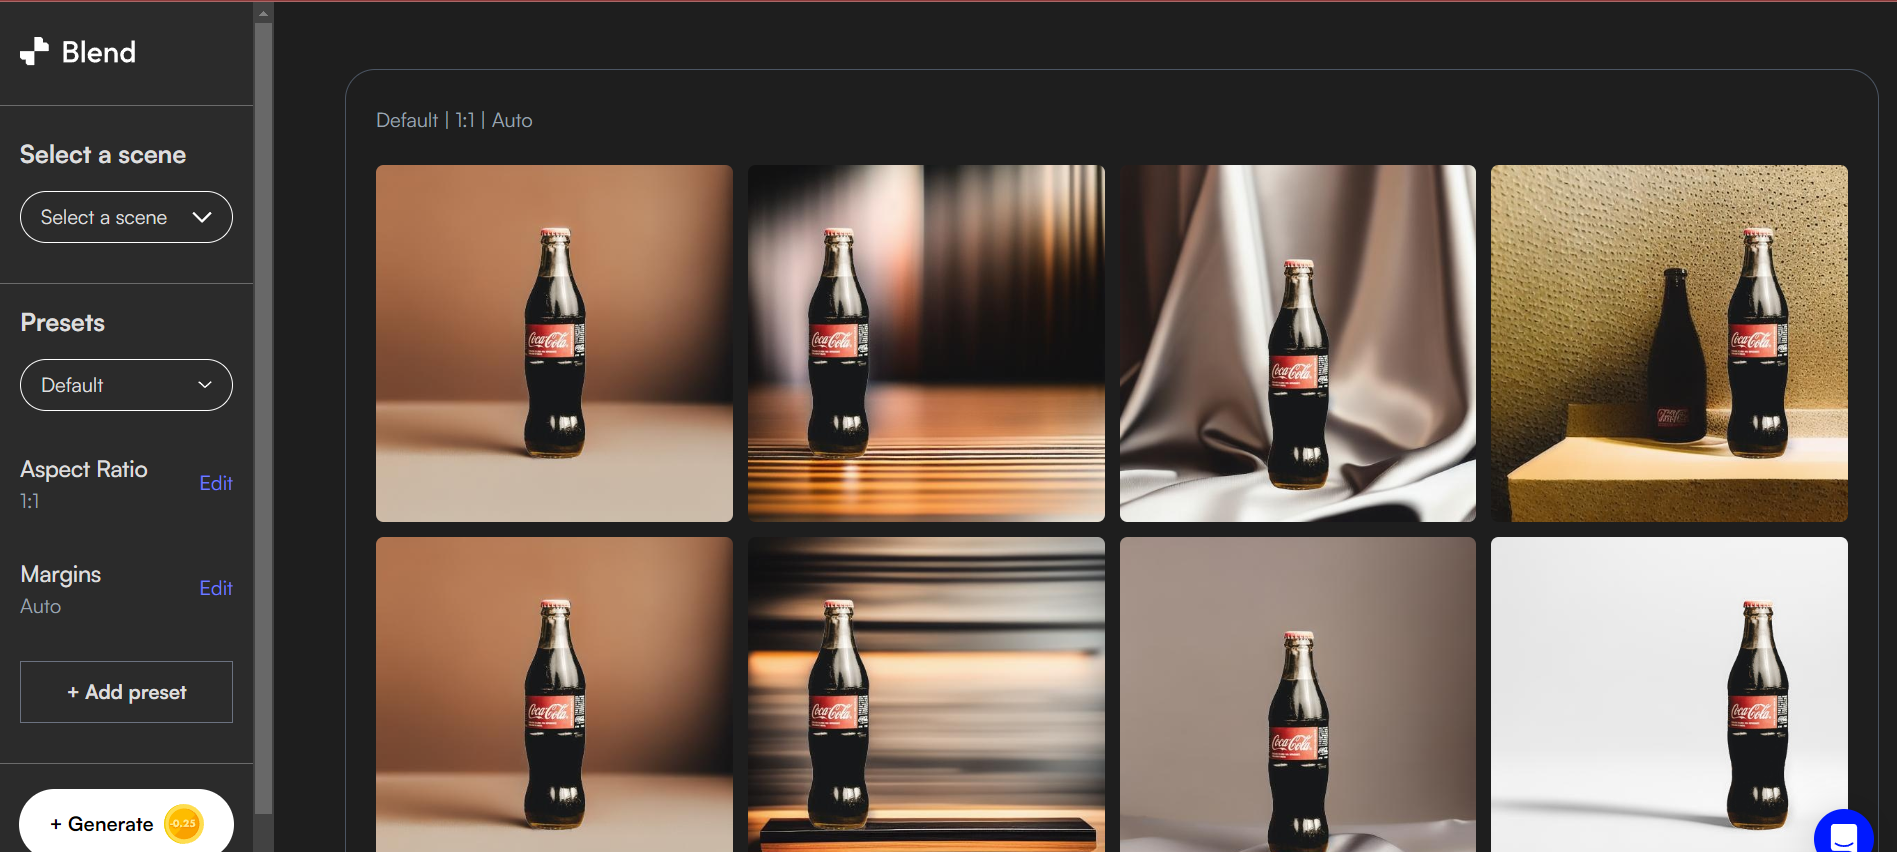
After completing the second step, you have to move on to this crucial step. Selecting a perfect background for the product is important. Depending on the mood and the setting of the picture, you have to organize it accordingly. For instance, in the case of a cosmetic product, you have to choose from the indoor, dressing table, and makeup tables options. You have to make sure, the product does not look too out of place and unrealistic. You can even add custom backgrounds with the help of Blend’s studio.

(Screenshot from Blend’s AI studio)
4. Download the picture
After choosing from the wide range of options provided for the product, you have to download the picture. This is a basic step you have to keep in mind every time you edit a picture. Download every picture with suitable backgrounds and templates, so you are able to filter and select from the created lists. The picture posted below is an edited version of the original picture.

(Screenshot from Blend’s AI studio)
5. Select the social media platform:
For beginners and sellers who are not willing to spend a large sum of money on photoshoots and advertising, social media sites are a convenient platform to advertise your products. You have to find your target audience and promote your brand accordingly. Facebook groups, and pages, are useful for customer acquisition. In the case of Instagram, reels, and ads come in handy. For youtube, and TikTok, videos, and shorts have more chances of getting viewed. Whatsapp contacts, and groups, help in spreading the brand name too.

Thus, the above-mentioned tips are the few simple and basic steps one needs to know for getting started with product photography by AI. It saves you time and money once you get accustomed to utilizing AI tools for product photography.
Explore more with the AI studio by Blend.
Happy editing!
